

Read the list
Each row shows the person’s role, their Access level (Role default, a custom level, or No login), the stores they can see, whether the dashboard and the Levelset app are on for them, their status, and their last sign-in. Click a name to open their panel, which holds every setting for them. Search by name or email, or filter by Status, Role or Store. The Status column says how far each person is from a working login.Invite a team member
Say a store has promoted a team member to Team Lead (use your own role names) and wants them on the dashboard. They have to be on the store’s team first; see Add someone.- On the Access tab, find them.
- If the row says No login, click Invite on the row.
- If the row says Needs an email, click their name, type an address under Email, and click Invite.
Add someone who isn’t a team member
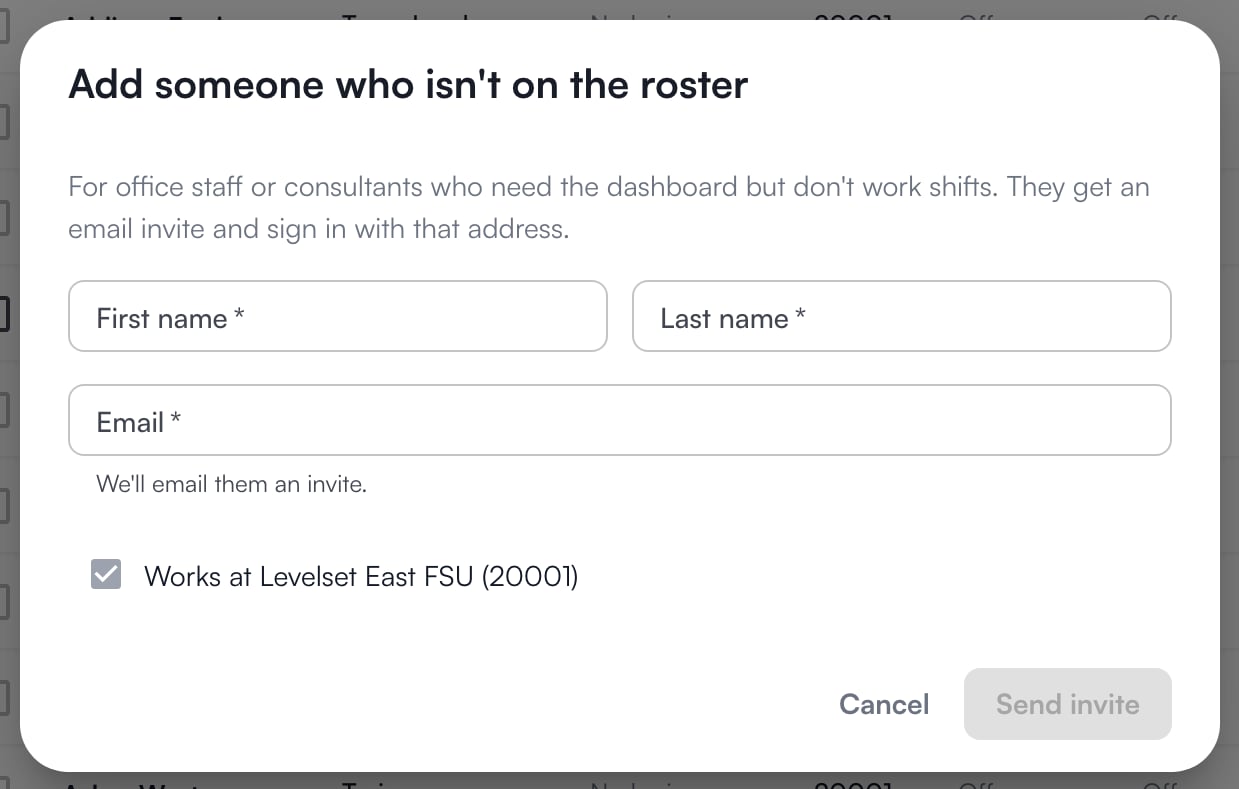
This is for office staff or consultants who need the dashboard but don’t work shifts.- On the Access tab, click Add someone.
- Enter First name, Last name and Email.
- Under Stores, tick the stores they can see. If you reach only one store, it is ticked for you.
- Click Send invite.
Give or remove dashboard access
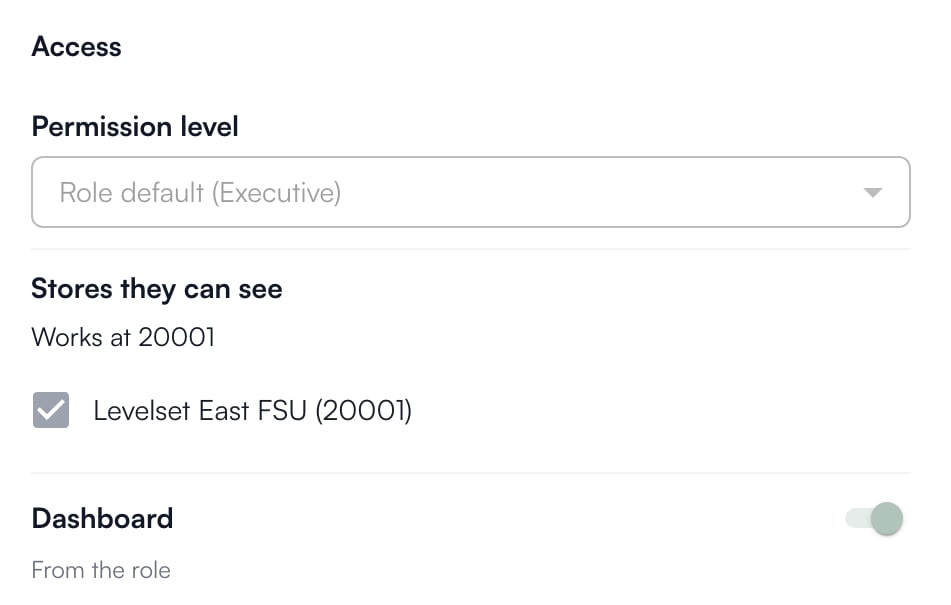
The Dashboard switch decides whether a login can open the dashboard at all, separately from what it can do inside.- Click the person’s name.
- Under Access, switch Dashboard on or off. The line under it says where the setting comes from: From the role, Default for their level, or Set for this person.
Change someone’s permission level
- Click the person’s name.
- Under Permission level, pick a level. Role default follows their role. The other options are custom levels made for their role.
- To make a new custom level for them, pick Custom permissions…. The Roles tab opens with Add custom level ready.
Set which stores someone can see
Under Stores they can see in the person’s panel, tick the stores. Someone who sees every store has every box ticked. Only someone who reaches every store can narrow that; anyone else sees the boxes locked, with the reason under them. A store you don’t reach stays ticked and can’t be unticked. At least one store must stay ticked, and the panel says Keep at least one store. if you try to clear them all. In an organization with one store there are no boxes: the panel names the store, or says Every store.Remove someone’s access
- Click the person’s name.
- Under Remove access, click Remove access now, then Remove access to confirm.
When someone is brought back, the login the termination removed can come back in the same step. A login removed here by hand, or removed as a duplicate, stays removed until someone clicks Restore access.
To force a new password instead of removing access, tick Require a new password at next sign-in and click Send password reset.
See why someone can or can’t do something
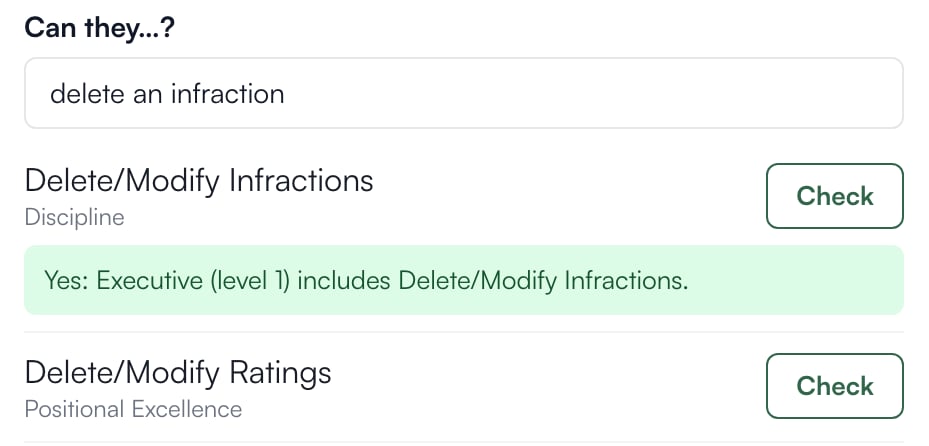
Say the new Team Lead can’t find the button to delete an infraction. Check here before changing anything.- Click the person’s name and scroll to What they can do.
- Under Can they…?, type what you want to check in plain words, for example “delete an infraction” or “see pay”.
- Click Check on the matching permission.
Why you see only some people, and why some controls are locked
You see the people who work at a store you can reach: the store you work at, plus the stores ticked under Stores they can see in your own panel. If every box there is ticked, you see everyone. A control is locked, with the reason under it, when:Who can do what
If you’re missing something here, ask whoever manages roles in your organization to turn it on. See Roles.
Common questions
Someone is missing from the list.
Someone is missing from the list.
Their employment was ended, or they work only at stores you can’t reach. Check the Team members tab for their store first.
The invite email never arrived.
The invite email never arrived.
If the panel says Email didn’t send, click Resend invite. A resend goes to the email shown under Email in their panel.
I promoted someone and their access didn't change.
I promoted someone and their access didn't change.
Their Permission level is set to a custom level, which doesn’t follow the role. Set it back to Role default.
Someone shows twice: once as a team member, once as a login with no role.
Someone shows twice: once as a team member, once as a login with no role.
The login isn’t linked to their team member entry. Open their panel and use Link to a team member; from then on the login follows that person’s role.